Learn how to use AmendFlow from start to finish.
This guide walks you through the complete process of generating documents, from uploading your template and data file to exporting finalized amendments. Whether you're creating a handful of documents or rolling out updates at scale, this tutorial will help you navigate each step of the app.
Step 1
To begin, upload your document template into AmendFlow. Simply drag and drop your DOCX file into the upload area, or click the drop zone to open the Finder file selection window and choose your file manually.

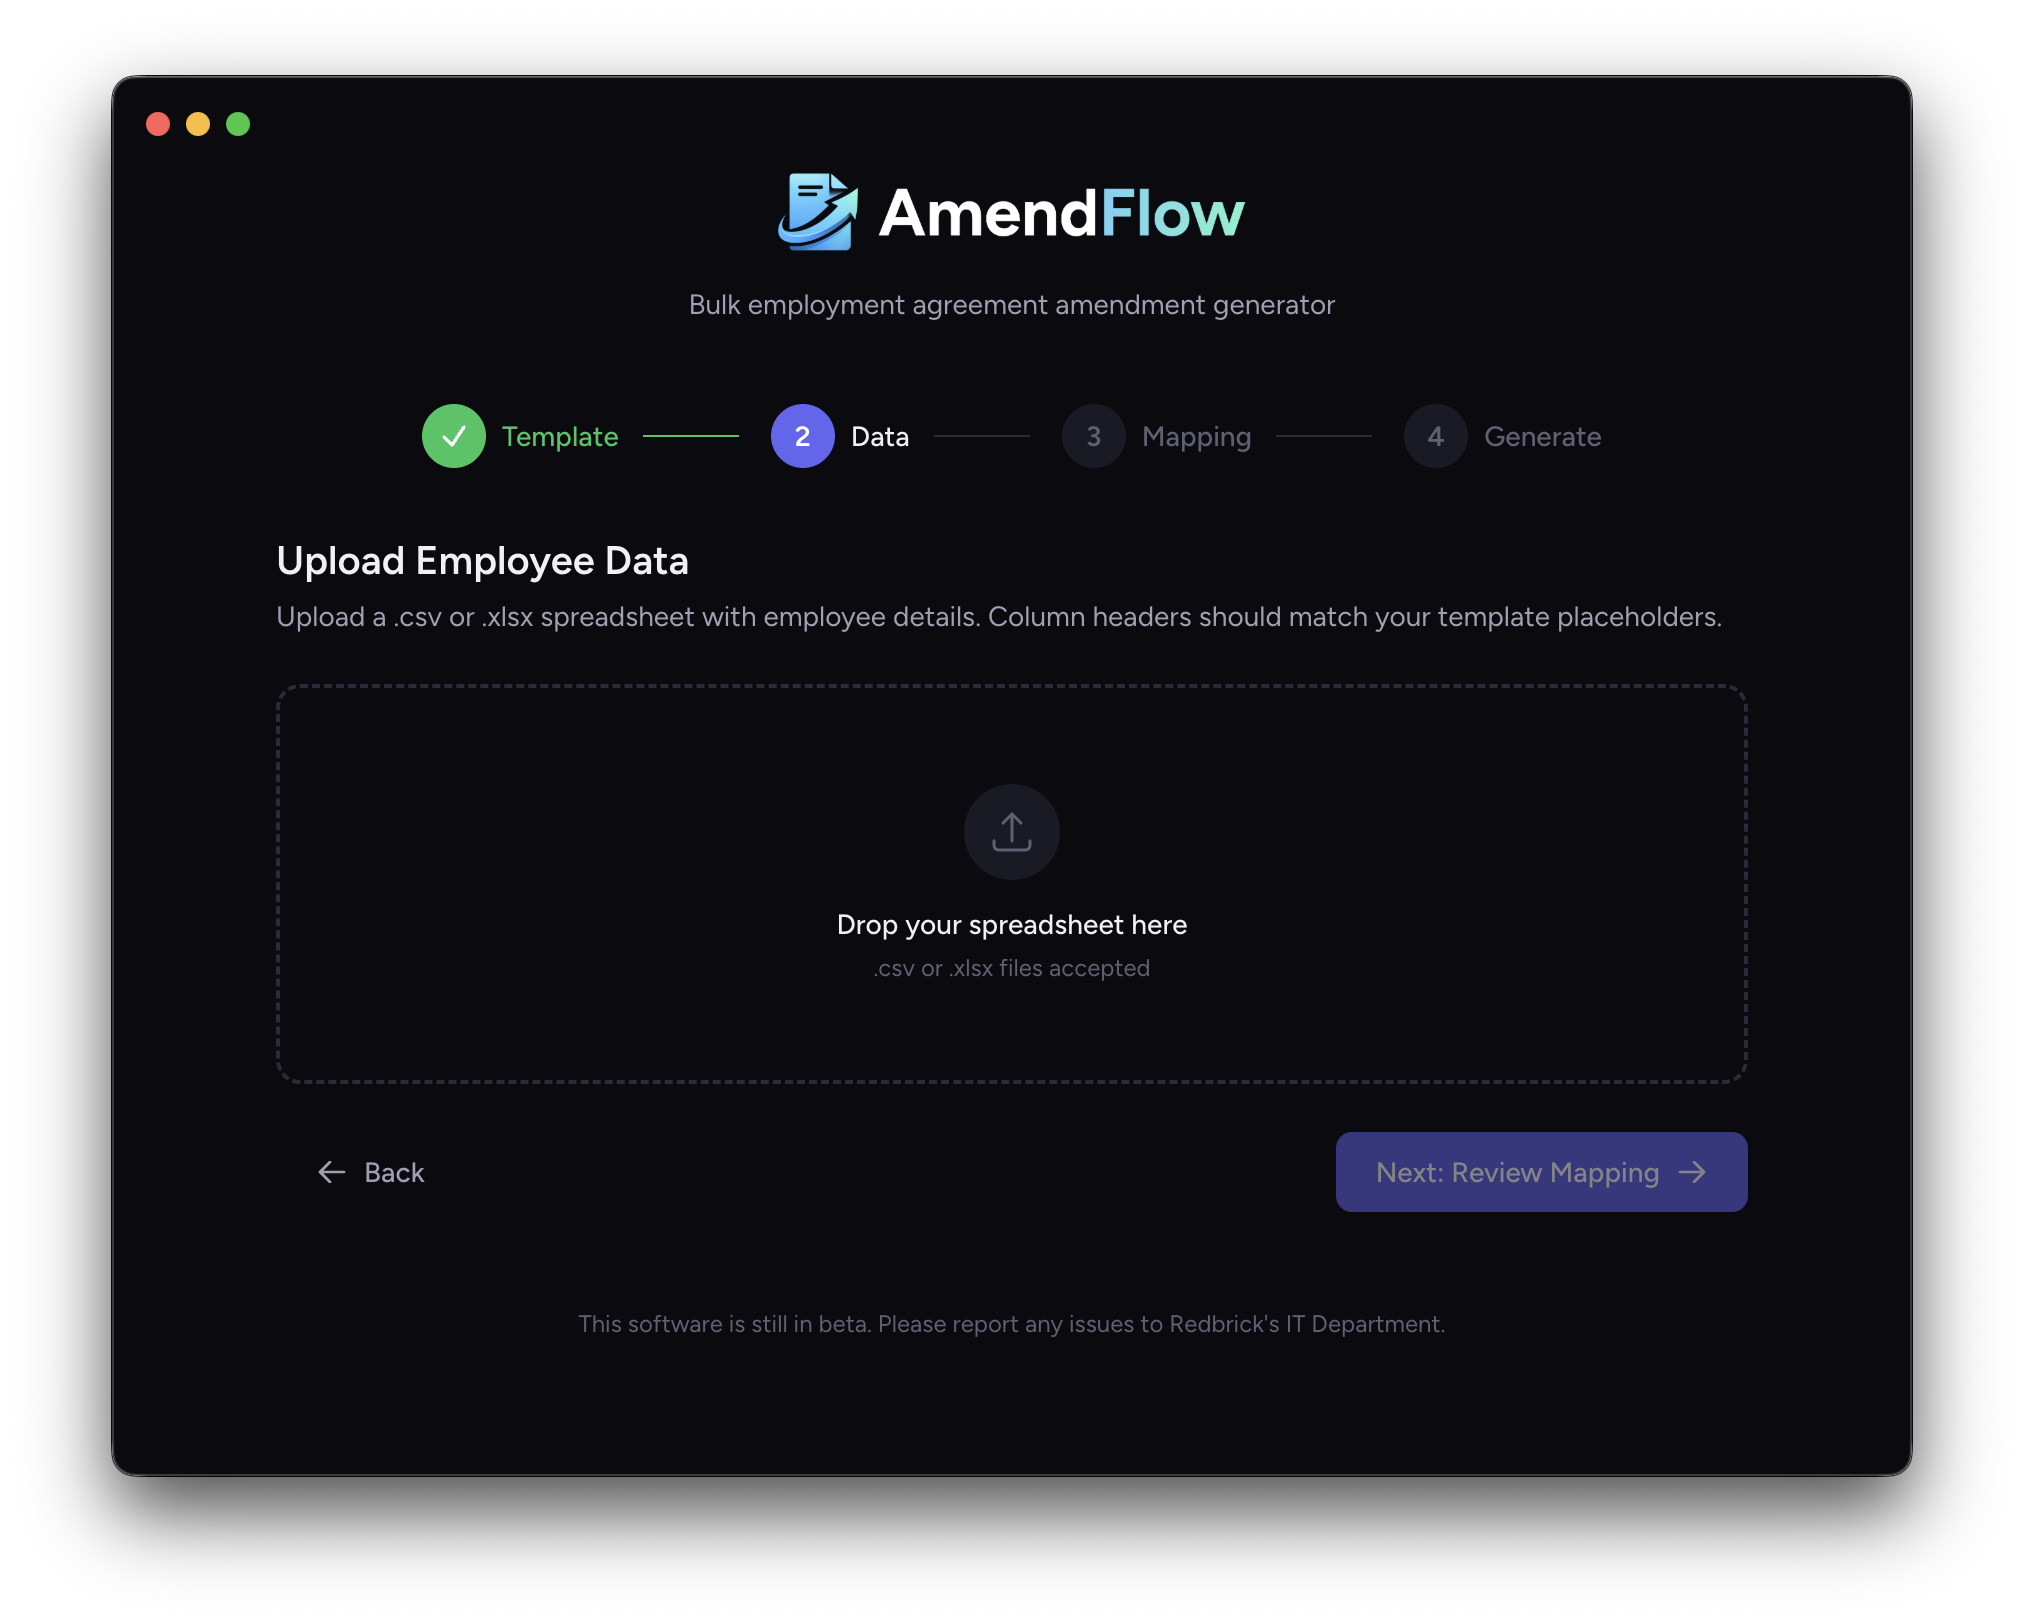
Step 2
To upload your data into AmendFlow, simply drag and drop your XLSX or CSV file into the upload area, or click the drop zone to open the Finder file selection window and choose your file manually.
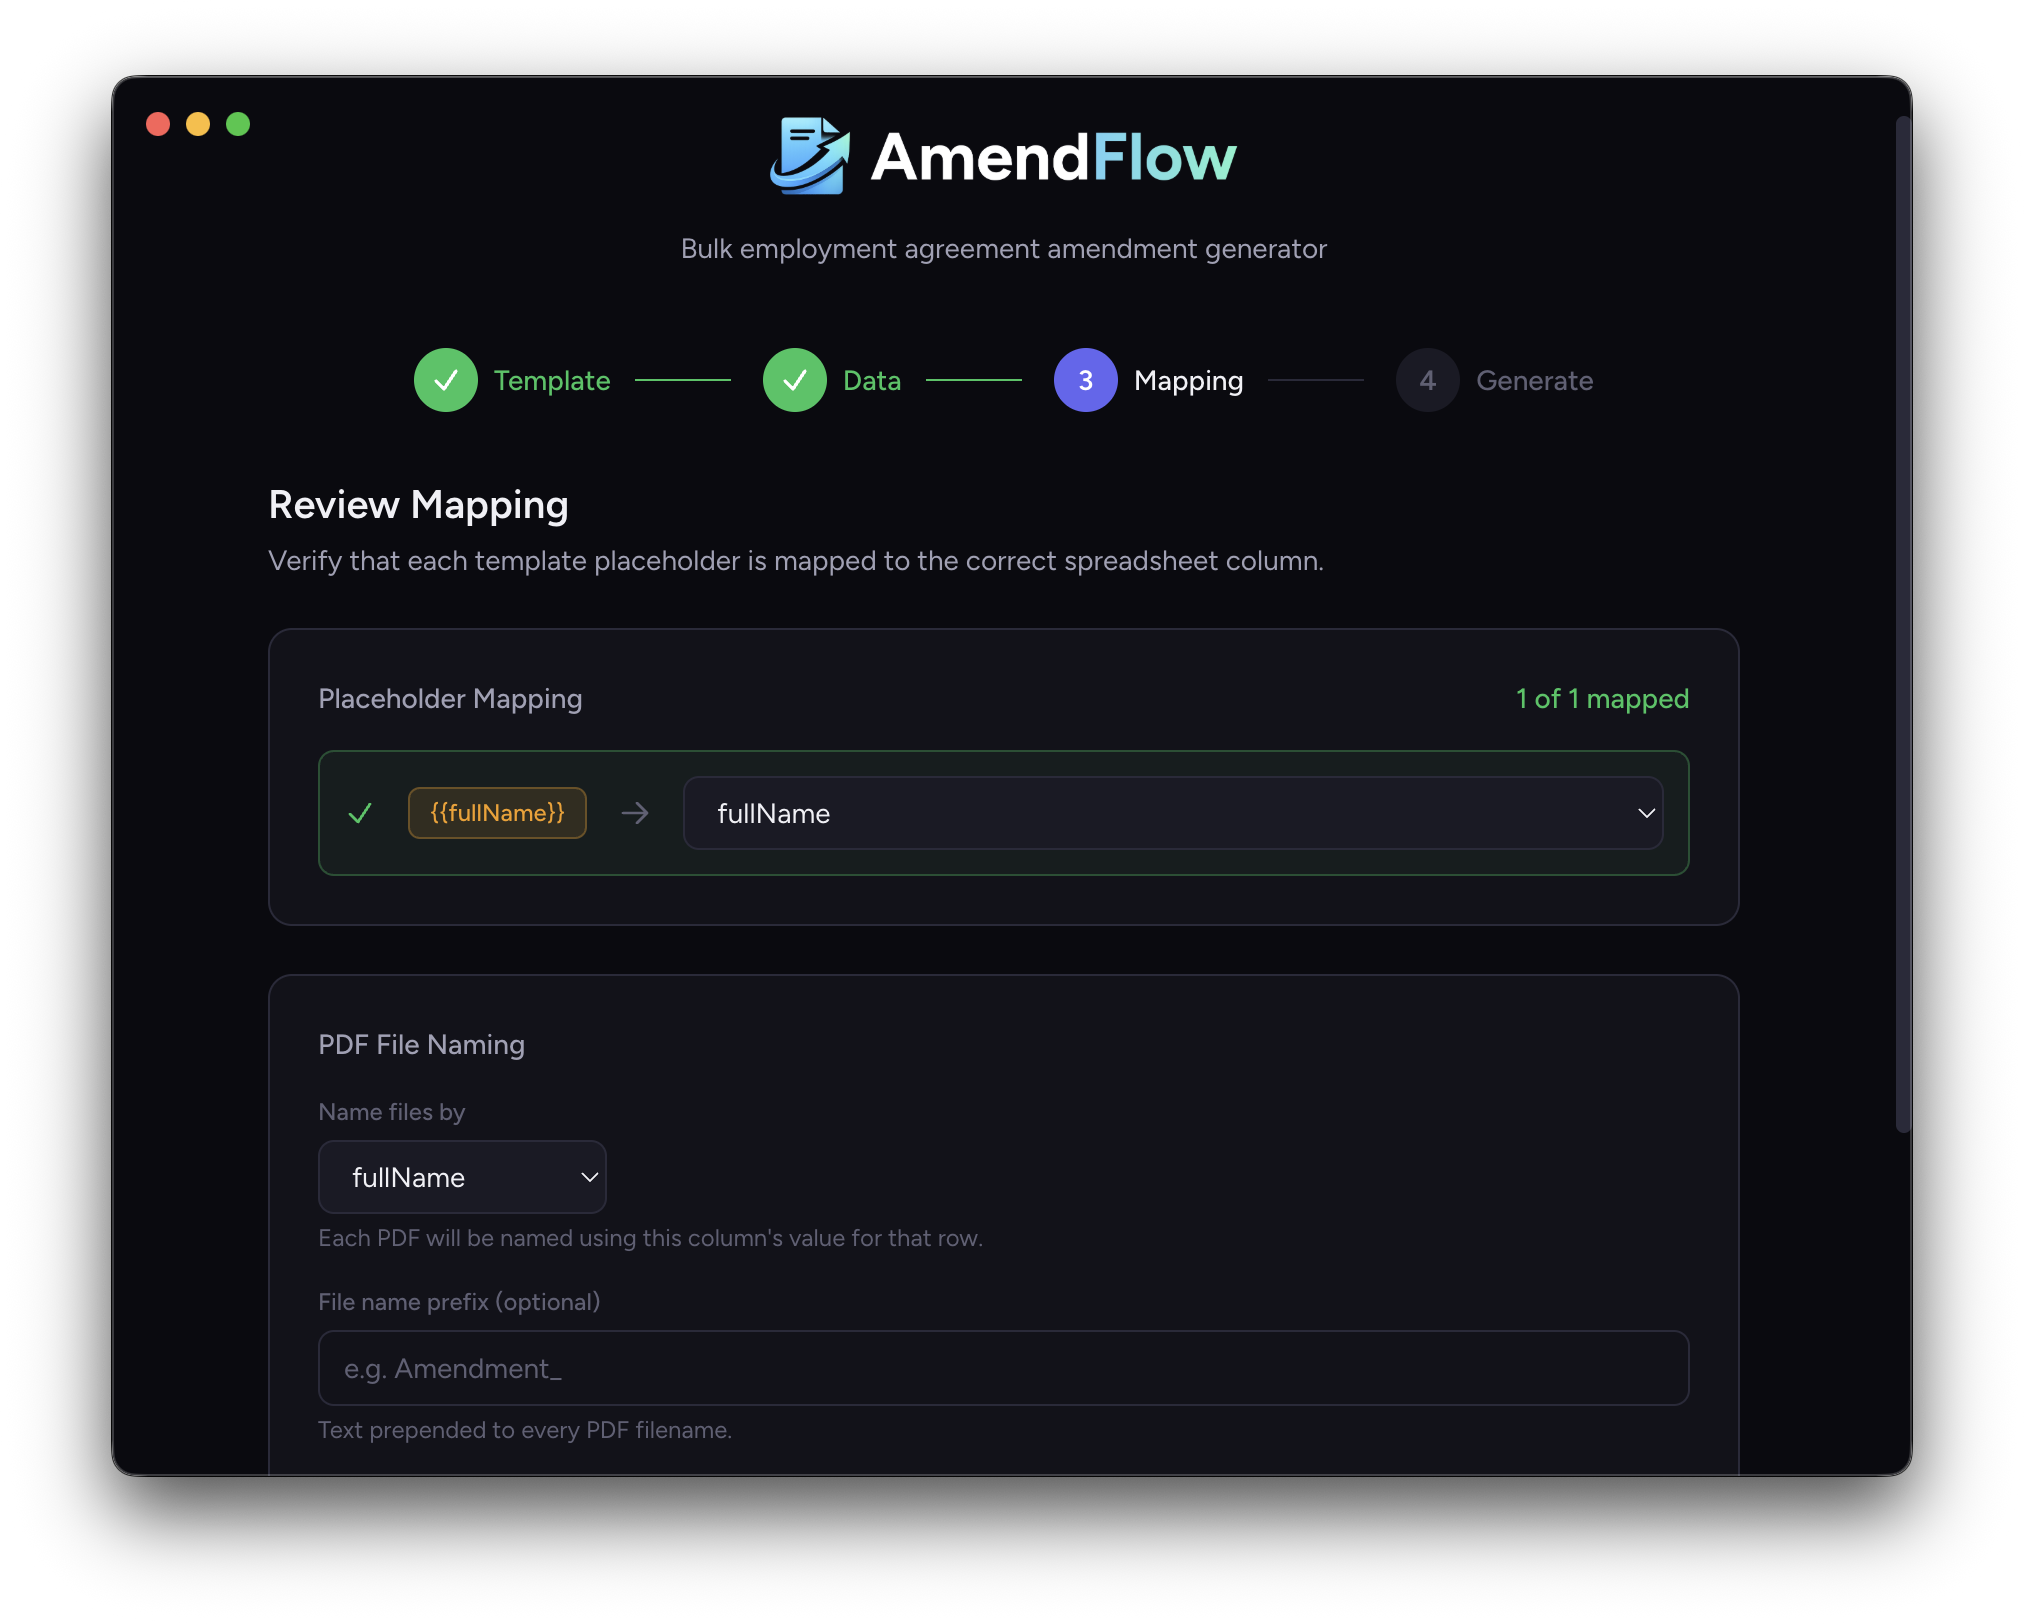
Step 3
While AmendFlow automatically detects placeholders and maps them to corresponding column headers, in this step, you can review the placeholder mapping to ensure each template field is correctly matched to the appropriate column in your spreadsheet.
Below the mapping section, choose how you would like your exported PDFs to be named. Select a column to use for file naming, and optionally add a prefix that will be applied to every generated document. This helps keep your exported files organized and easy to identify.

Step 4
Finally, click Generate PDFs to begin the export process. AmendFlow will automatically generate individual PDF files and editable DOCX versions, organizing them into two separate folders for easy access.
That's it! Your documents are ready.
We hope this guide made this process straightforward and easy to follow. If you run into any issues, have questions about setup, or have ideas for future improvements, we'd love to hear from you.